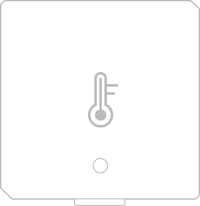
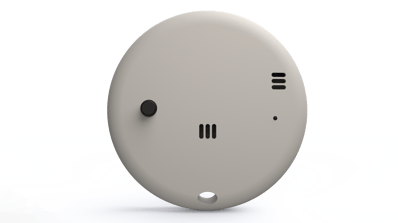
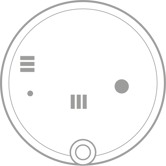
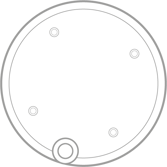
Click on the Node you have installed from the images below.
How to identify the Homely Temperature Node's battery needs replacing
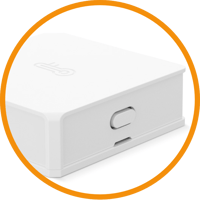
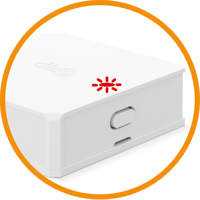
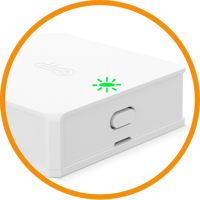
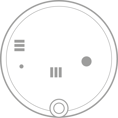
Press the Node button, if the Node light doesn't flash or flashes red, then the battery is low or depleted.
How to change the Homely Temperature Node's battery
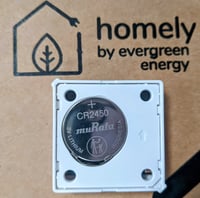
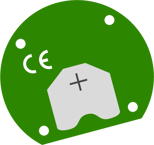
The Homely Temperature Node is powered by a single CR2450R battery (as shown in the image below). CR2450R batteries are inexpensive and are widely available to purchase, either online or in supermarkets and hardware stores. If your battery needs changing just follow the steps below.
.png?width=180&height=167&name=Screenshot%202023-10-24%20at%2011.33.38%20(1).png)
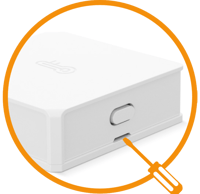
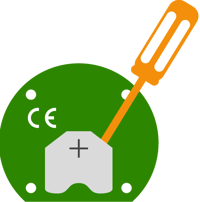
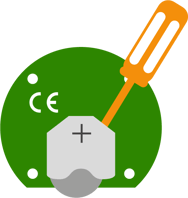
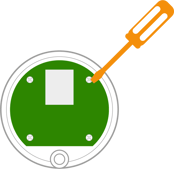
- Open the Temperature Node casing. The Node has a slot, beneath the button, highlighted in the picture below, a flat head screwdriver can be used to pry the case apart as displayed.
- Remove the existing battery from the Node's battery housing.
- Insert the new battery into the Node battery housing. Please ensure that the "+" symbol on the battery is facing outward.

- Before sealing the enclosure, press the button on the side of the Node once, the light should flash green.
a. If the Node light does not flash, please re-insert the battery and try again. The replacement battery may be depleted.
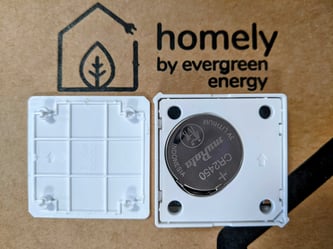
b. If the Node light flashes red, the replacement battery's charge is low. - You may now seal the Node's enclosure by pressing the four corner clips together, ensure the arrow is facing upwards for both parts as displayed below.
If you are still unable to connect the Node then contact a member of the team.
How to identify the Homely Temperature Node's battery needs replacing
After triple clicking the Node's button, the Node light does not flash.
How to change the Homely Temperature Node's battery
The Homely Temperature Node is powered by a single CR2032 battery (as shown in the photo below). CR2032 batteries are inexpensive and are widely available to purchase, either online or in supermarkets and hardware stores. If your battery needs changing just follow the steps below. Please ensure you have a replacement battery and a Phillips screwdriver to hand, before starting.

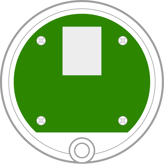
- Flip the Homely Temperature Node on to its side and carefully pry apart the enclosures.


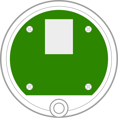
- Once opened, the Homely Temperature Node will appear like this.
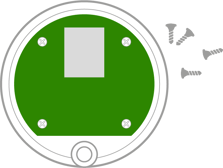
- Use a Phillips screwdriver to remove all four screws from the Homely Temperature Node.

- Once the screws have been removed, the base of the node enclosure and the board can be separated.

- Flip the board over and you should be able to see the battery in its slot. Use a narrow tool, such as your screwdriver, to slide the battery out.
 .
. 
- Insert the replacement battery into the empty slot. Please ensure that the "+" symbol on the board is lined up with the "+" symbol on the battery holder.

- Use the screws to reattach the board onto the node enclosure and secure both parts by gently squeezing them together.


Please note that after a battery change your node will need to be re-paired. Please click here for instructions on how to pair your node.